In Google Antigravity, setup is fundamentally different. You are not just preparing a machine; you are onboarding a team. You are defining the psychological and technical boundaries within which your Gemini 3 agents will operate. If Chapter 1 was about the philosophy of the “Agent-First” shift, Chapter 2 is the practical manual for constructing the Silo-the secure, context-rich environment where your agents live and work.
Introduction: The New Infrastructure
In traditional software development, “setting up the environment” meant installing Node.js, configuring Docker containers, and wrestling with .env files. It was a mechanical process of preparing the machine to accept code.
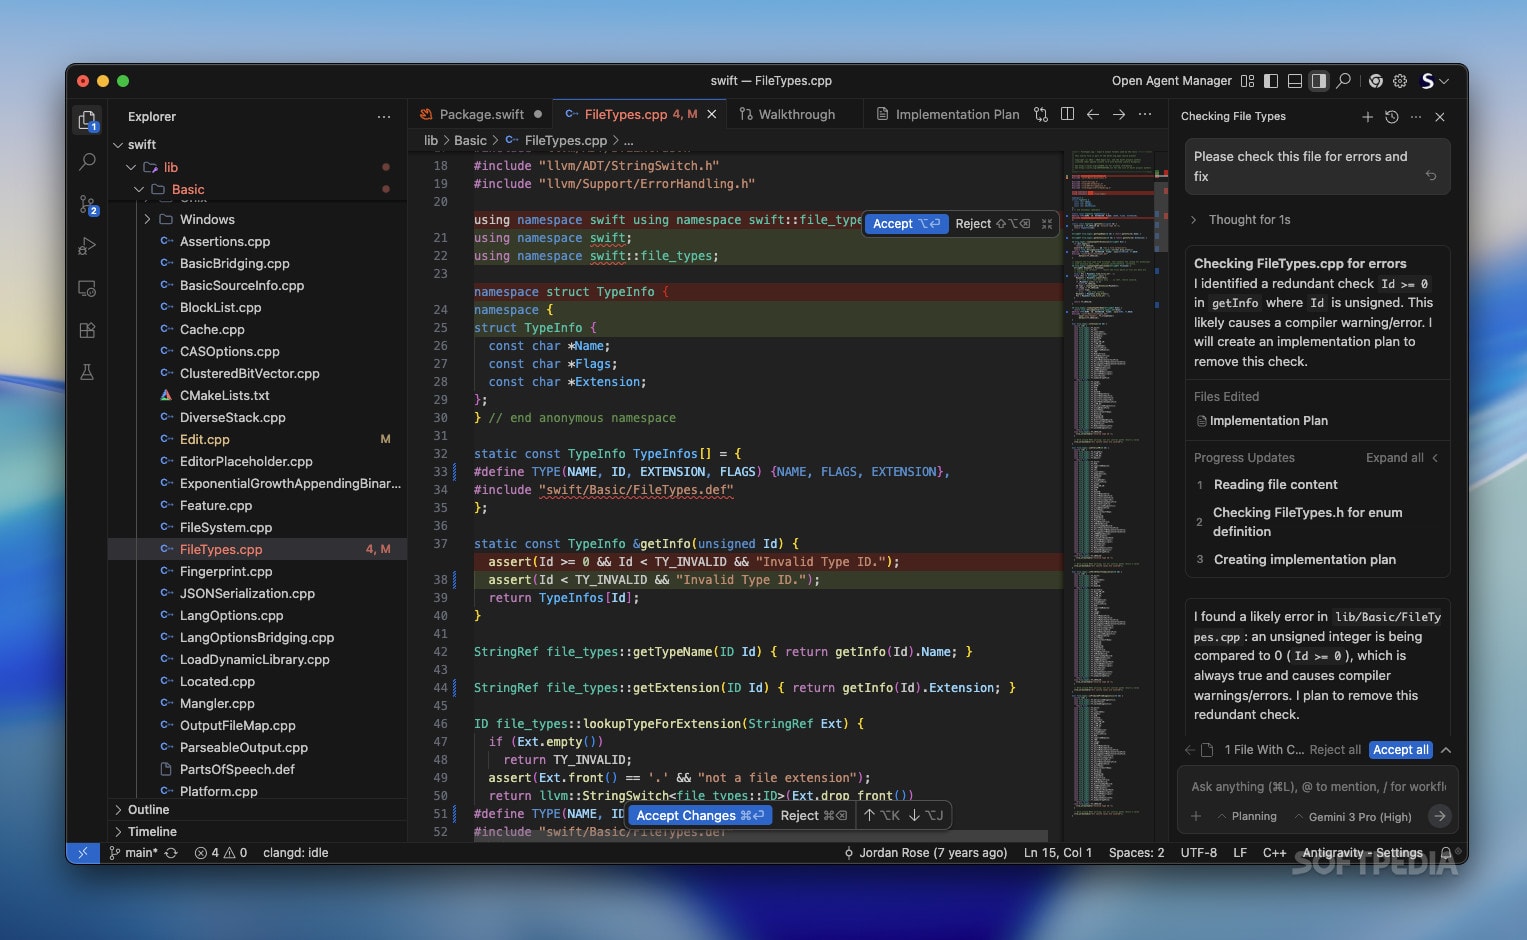
A poorly configured Antigravity workspace results in “Agent Drift,” where autonomous workers hallucinate requirements or deviate from architectural patterns. A well-architected workspace, however, functions like a hive mind, executing complex logic with terrifying precision.
The Initialization Vector: Defining the Context Scope – Google Antigravity
The first step in any Antigravity project is defining the Context Scope. This is the dataset that the Gemini 3 model is allowed to “see” and “reason” upon. Unlike a standard RAG (Retrieval Augmented Generation) pipeline which fetches snippets, Antigravity loads the entirety of the defined scope into its active cognitive model.
1. The Repository Link
When you initialize a workspace, you don’t just clone a repo. You establish a bi-directional sync.
- Read Access: The agents digest every commit, branch, and pull request history. They understand why a feature was implemented three months ago by reading the commit messages.
- Write Access: You define the permissions. Can the
Refactoring Agentpush directly tomain? (Never recommended). Or must it open a Pull Request?
2. The Documentation Stream
This is where Antigravity shines. You connect your external documentation libraries (Confluence, Notion, Google Docs).
- Legacy: You search Confluence for “API specs.”
- Antigravity: You link the specific Notion page containing the “Q3 Roadmap.” The agents now understand that the code they write must align with the business goals outlined in that document. If you ask for a feature that contradicts the roadmap, the Planning Agent will flag it: “This feature conflicts with the ‘Simplicity First’ objective defined in the Q3 Roadmap.”
3. The Communication Layer
You can pipe in Slack or Discord channels. This allows agents to understand “tribal knowledge.” If a developer mentioned in Slack, “The payment gateway is flaky on Tuesdays,” the agent adds that to its probabilistic risk assessment when running tests on the payment gateway.
The Constitution: Rules of Engagement
Once the data is connected, you must define the Constitution. This is a meta-prompt file (usually .antigravity/constitution.yaml) that acts as the immutable law for all agents in the workspace. It overrides all other instructions.
The Style Directive
This section forces code consistency.
style_policy:
  language: typescript
  strict_mode: true
  formatting: prettier
  comments: "Explain 'why', not 'what'"
  prohibited_patterns:
    - "any types"
    - "magic numbers"
    - "inline styles"
If an agent generates code with an any type, the Governance Layer (a lightweight supervisor model) rejects the code before you ever see it, forcing the agent to retry with strict typing.
The Security Directive – Google Antigravity
This is critical for enterprise use. You define what agents cannot do.
- No External Calls: “Agents may not send data to IPs not listed in the allowlist.”
- Secret Protection: “If a string looks like an API key, the commit is blocked immediately.”
- Dependency Freeze: “Do not introduce new npm packages without explicit human approval.”
The Constitution is the guardrail that prevents the “infinite monkey theorem” scenario. It ensures that while the agents are creative in solving problems, they are rigid in adhering to standards.
Configuring Agent Personas: Assembling the Squad
Antigravity comes with default agents, but power users customize their “Squad.” You define personas based on your project needs. Each persona is a specialized instance of Gemini 3 finetuned for specific tasks.
1. The Architect (The Lead)
- Role: High-level planning, system design, breaking down prompts into tasks.
- Configuration: High reasoning capability, low creativity. It prioritizes stability and scalability.
- Tools: Access to cloud architecture diagrams, ability to read the full file tree structure (but not necessarily every line of code at once).
2. The Builder (The Grunt)
- Role: Writing the actual syntax.
- Configuration: High coding speed, strict adherence to the Constitution.
- Tools: Language servers (LSP), linters, compilers.
3. The Critic (The QA)
- Role: Adversarial testing. Its only job is to break what the Builder made.
- Configuration: It is prompted to be skeptical. It writes edge-case tests, fuzz tests, and security penetration tests.
- The Loop: The Builder and the Critic enter a Verification Loop. The Builder writes code -> The Critic attacks it -> The Builder patches it. This happens in seconds, invisible to the user, until the Critic is satisfied.
4. The Librarian (The Documentation)
- Role: Maintaining the README, updating API specs, and writing inline comments.
- Configuration: High natural language fluency. It ensures that the documentation never drifts from the code reality.
The Sandbox: The Safe Runtime
A major fear with autonomous coding agents is: “What if it deletes my database?”
Antigravity solves this with Ephemeral Sandboxes.
When an agent needs to run code (to verify it works), it spins up an isolated, micro-VM (Virtual Machine). This is not running on your laptop’s local OS; it’s running in a cloud container managed by Google.
- Isolation: The agent has root access inside the sandbox, but zero access to your local file system outside the project folder.
- Data Mocking: The sandbox automatically mocks external databases. If the code tries to
DROP TABLE users, it drops a mock table in the sandbox, not your production DB. - State Reset: Once the verification loop is done, the sandbox is incinerated. No state persists unless explicitly committed to the repo.
The Integration Pipeline: CI/CD/CA
We all know CI/CD (Continuous Integration / Continuous Deployment). Antigravity introduces CA: Continuous Agency.
In a traditional setup, CI runs when you push code. In Antigravity, CA runs constantly.
Even when you are asleep, the Optimization Agent can be running in the background. It might analyze your codebase and propose:
“I noticed the processImage function is causing 40% of the latency. I have drafted a refactor using a more efficient library. Here is the benchmark comparison. Approve merge?”
This changes the architecture of your workflow. You are no longer just reacting to tickets; you have an active participant improving the codebase 24/7.
Setting Up Your First Workspace: A Walkthrough
Let’s visualize the setup process for a new Antigravity project.
- Command:
antigravity init my-fintech-app - Selection: The CLI asks, “What is the primary stack?” You select “Python/Django + React”.
- Constitution: It asks, “Import standard enterprise security rules?” You select “Yes”.
- Data Link: You paste the link to your team’s Linear or Jira board.
- Ignition: The system spends roughly 60 seconds “indexing.” It is reading the documentation of the libraries you selected, learning the specific quirks of Django ORM, and creating a mental map of your Jira tickets.
Once initialized, you don’t see a blank screen. You see a dashboard:
- Pending Tasks: Pulled from Jira.
- Architecture Overview: Generated from your intent.
- Agent Status: “3 Agents Idle, Waiting for Instructions.”
Best Practices for Architecture
1. Keep Scopes Modular Don’t feed the entire Google codebase into one workspace. Antigravity works best with “Bounded Contexts.” Create one workspace for the “Payment Service” and another for the “Frontend.” You can link them via API contracts, but keep the reasoning scopes distinct to prevent confusion.
2. Over-communicate in the Constitution
If you have a specific preference (e.g., “Always use map instead of for loops”), put it in the Constitution. Do not rely on correcting the agent manually every time. Fix the prompt, not the code.
3. The Human Review Gate
Always configure the Merge Gate. Agents can do everything up to the merge. The final button press to merge into main must remain a human action. This is the “Safety Valve” of the architecture.
Conclusion of Chapter 2
We have now constructed the factory. We have the raw materials (Context), the workers (Personas), the laws (Constitution), and the safety nets (Sandboxes). The infrastructure is solid.
However, a factory is useless without orders. How do you speak to these agents? You cannot just speak to them like a chatbot; you must “program” them with natural language.
In the next chapter, we will master Prompt Engineering for Agents. We will move beyond “Write me a function” and learn how to construct “Chain-of-Thought” prompts that guide agents through complex, multi-file feature implementations without hallucinating.
Key Takeaways
- The Constitution is Supreme: Define rules in a meta-file to enforce consistency.
- Personas Matter: distinct agents for planning, building, and testing yield better results than one generic agent.
- Sandboxing is Mandatory: Never let agents execute code on your bare metal; use the ephemeral runtime.
- Continuous Agency: Agents can work in the background to optimize code, not just write new features.
